There are many legitimate reasons to want to take apart your cube. So first, if cynical onlookers accuse you of cheating, here are some answers you could give
- You always like to know how things work
- You want to apply some lubricant to the interior, so it spins faster
- You want to make a handmade rubik’s cube out of wood / plaster / beeswax / dental floss, and need to see what’s inside
- You are going to put itching powder / a firecracker inside as a practical joke for your cynical friends
Explain to onlookers that it takes several minutes to take a rubik’s cube apart and put it back together again, but the world record for doing it the ‘proper’ way is about 20 seconds, so there’s no motivation to cheat!
Anyway, once the cynical onlookers have gone away, you are ready to dismantle your cube. This page shows how to do it. You can click on any of the images to get a larger view. Or, watch the Video.
Note that I can’t accept responsibility if you break your cube by following these instructions. Nonetheless, if your cube is made of reasonably good quality plastic, I don’t expect it to suffer any serious damage.
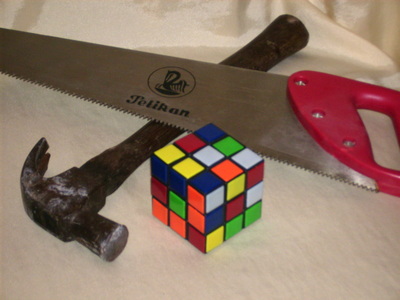
The proper tool

You’ll need a screwdriver. Preferably with a wide, but thin head. Actually, a butter knife would probably do just fine. The one shown in the picture here is really too thin.
Remove the first edge piece

The first piece to remove is an edge piece.
- Turn the top layer 45 degrees.
- Insert the screwdriver (or knife) under an the edge piece on the top layer, and lever it up.
- It should slide out with only a little effort.
Note that in the whole process, this is the point where damage to the cube is most likely to occur. The cube in this picture was a made-in-China model I bought for the equivalent of USD 0.60. The plastic was so flimsy that each time I took it apart, there were little chips of broken plastic everywhere. However, the cube could still be used. At least, until my 8 month old threw it down from the top floor of our house. But that’s another story.
Remove two corner pieces

The two corner pieces next to that edge piece can be lifted out very easily.
Remove an edge piece from the middle layer

Next, remove the edge piece that was directly under the three pieces you’ve already removed. Do this by sliding it upwards. This may take a little effort.
Remove the rest of the top layer

Now you have a gap in the middle layer. If you turn the top layer, the pieces can be taken out one by one very easily when they reach the gap. The corner pieces in particular are very easy to remove.
Clean out the middle layer

There are three more edge pieces in the middle layer. Remove them one by one by sliding them upwards.
Get the bottom pieces out

The corner pieces on the bottom layer can be lifted out very easily. Actually, by now the rubik’s cube is almost dismantling itself. It’s as if, having seen all the other pieces taken, the last few are saying ‘me too! me too!’. A bit like lemmings. Just twiddle the faces they are on, and out they’ll come.
The Rubik’s Cube, fully dismantled

So there it is, fully dismantled. Notice the centre pieces are all connected together on a central frame. Observe the eight corner pieces, and twelve edge pieces.
Your next step, of course, is to put it all back together again!
Do you have a video on how to reassemble a 2×2 Rubik’s Cube
Not yet, sorry.
Can we seperate center part. I want to bring white n yellow as opposite. Now white n blue r opposite part.
Even if you take the central frame apart and rearrange the centre pieces, you won’t have corners and edge pieces that go with your rearranged frame.
You’d be better off just buying a new set of stickers. Google “rubik’s cube stickers” and you’ll find lots of suppliers. Here’s an amazon link: http://amzn.to/2CGDUve